FIRST....As you start into
this job as with any, you need to study and analyze how it's put
together so you can remember how to put it back together.
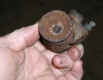
Step 1: If equipped with Bearing
Buddies, remove them for a quick inspection.. (as shown in the reference
pic). This shows signs of water.
Grease becomes very light colored and can even turn white from being
saturated with water.
 |
Step 1:
- Shows signs of water. |
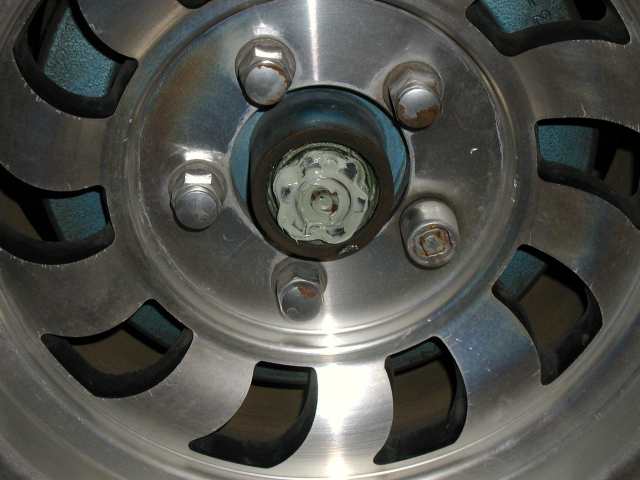
Step 2: Time to jack up trailer to
remove the hub assembly. You can either leave the tire and wheel
on hub or remove it, your choice. (I leave it on the majority of the time.)
Step 3: After it's raised up put a jack
stand under trailer frame. For your safety!
 |
** Notice
all the grease that has been forced out past
seal and is all over
everything. |
Step 4: Remove the cotter pin in
spindle nut. Then the nut. Once you have the nut off you can
remove the washer and outer bearing.
Step 5: Pull the hub assembly straight out
and off of the spindle.
Step 6: Turn it with back side facing you,
and pry out the old seal.
Several tools will work.....big flat screwdriver,
pry bar, etc. I use a roll head bar.
Step 7: Lift out the inner bearing.
Step 8: Time to clean and inspect all the
parts and pieces.....hub, inner bearing & cup, outer bearing &
cup, spindle/seal surface area.
Do not remove the bearing cups inside hub or brake system parts unless
they need to be replaced, (covered in Step 12.)
Note 1 - Cleaning can be done with several
parts cleaning solutions; as a last resort use gasoline.
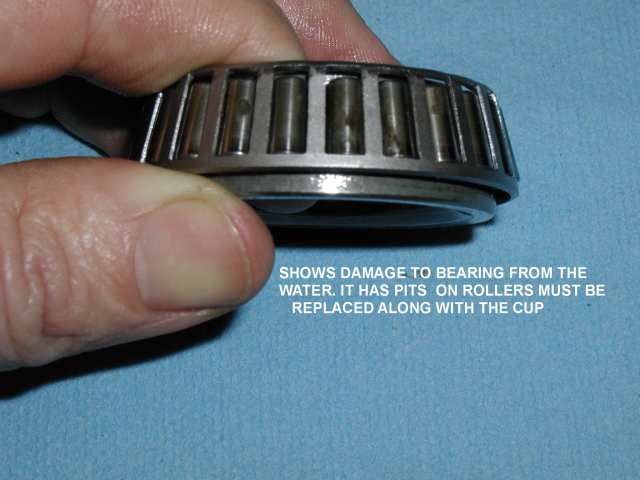
Note 2 - Cleaning solution needs to be off
and parts dry. Blow them off with compressed air.......DO NOT
LET BEARINGS SPIN, it can damage the bearings.
 |
Step 8: Note
2 - Indicates water damage. |
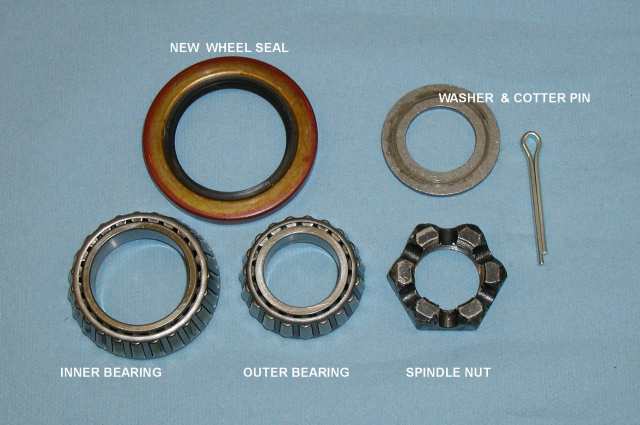
Replace any damaged bearing & cups, if
either one is bad, replace both
bearing and cup.
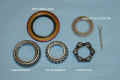 |
Photo shows the
various parts. |
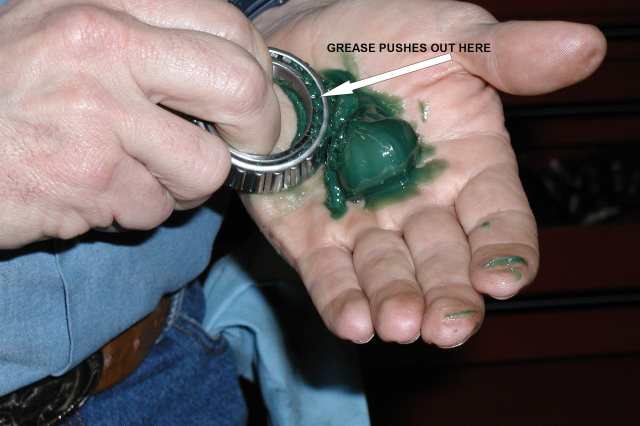
Step 9: After all is clean....time to
re-pack the bearings. This is done by placing grease in the palm of
your hand as shown. Hold bearing in other hand as shown.
Rock bearing up and down into grease until it is forced out top of
bearing, then rotate it and repeat until full all the way around
bearing. Make sure it's full!
 |
Step 9:
Indicates proper way to re-pack bearings. |
Step 10: Once you have both bearings
packed, put the inner bearing back into hub. Inner bearing is
normally the larger of the two.
Step 11: Install the NEW wheel
seal. Be careful not to knock off the garder spring. (It's the
little spring around inside of lip of the seal). Make sure it's in
square and flush with hub.
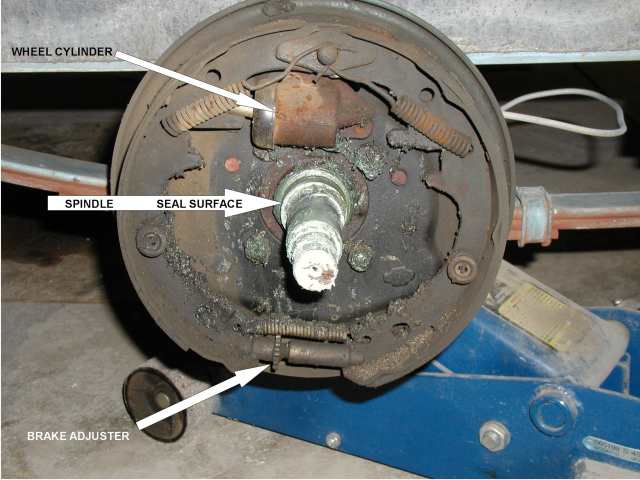
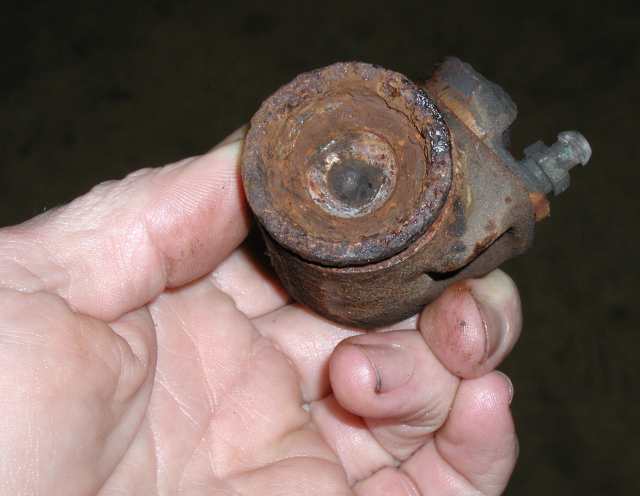
Step 12: If you have brakes, it's time to
inspect and do any repairs that are needed to the brake system.
Roll the boot up on the wheel cylinder to inspect inside bore/piston
area. Hope it doesn't look like this one pictured, if so, it will
have to be replaced. (The brakes were not working!)
 |
Step 12:
Indicates need for replacement. |
Check the brake shoes for wear and if they
have rivets holding them make sure that they are recessed in the
shoe. You do not want the rivets contacting the brake drum.
Check the adjuster, repair & replace as needed.
Step 13: Install hub back onto
spindle. Push it as far back on as it can go.
Then put the outer bearing back in, then the washer. Then the nut.
Step 14: After you have the nut up slightly
snug, rotate the hub a few revolutions, (easier if tire & wheel are
on the hub). As you rotate it, tighten the spindle nut until you
feel it loading up the bearings (will get harder to roll). This
seats the bearings. Then back off one notch (if it's a castle
nut), or a little less than a 1/4 of a turn. You may have to go a
little more or less to get it to line up for the cotter pin.
Step 15: Install the cotter pin; bend
it so that it won't be rubbing on dust cap or Bearing Buddy.
Step 16: If you have Bearing Buddies,
pump with new grease until the inner piston moves out a small
amount. Don't over-do it! You shouldn't need to
grease it again most of the season. Too much grease can blow out
through the seal causing a weak seal that can let water in. And,
it also
gets on your brake shoes causing another problem.
Step 17: If you have brakes......check the
adjustment. You should be able to hear and feel a slight drag of
shoes to drum when you rotate the tire.
If not, you need to tighten up the brakes by removing the access cover
on backing plate and with a screwdriver, roll the adjuster wheel.
Keep checking until you have the slight drag. |