|
Home
Champion Owners List BBC
Boards
|
Rod
Holders for ChampioN Rod Box |
These vertical rod
holders are installed in my 1992 ChampioN, 190 DC, 175 XRi EFI.
The vertical rod holders inside of the rod box/bunk do not take up much
room. They leave the floor of the bunk for other tackle, rain gear, net,
additional rods, etc.
I can place four rods and reels on the vertical holder and two on the
outside of the rod bunk. These directions are for only the
vertical rod holders on the inside of the bunk, and not for the two in
pictures 6 & 7.
The other two holders are briefly explained at the end.
Directions/Details/Explanations will match each picture. |
|
Picture #
Details/Description *
Click on
thumbnails for large pics.
 |
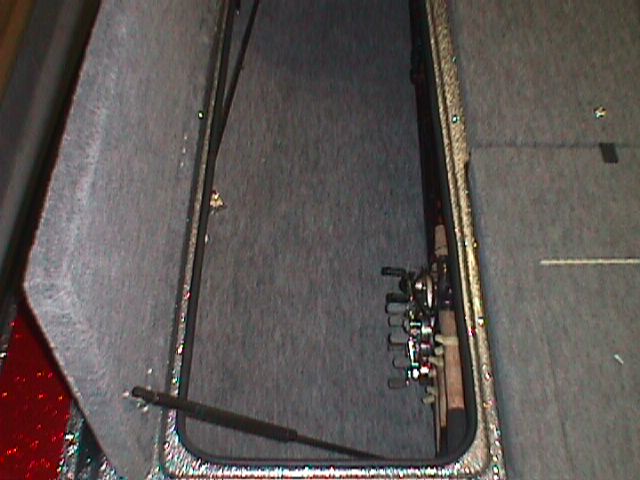
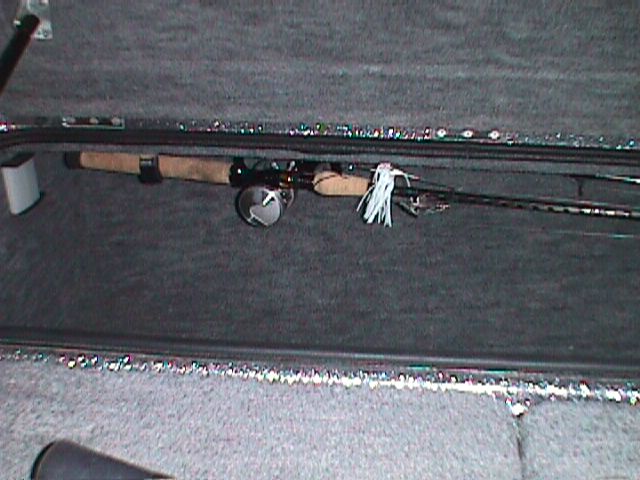
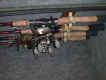
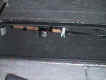
#1
This pic shows the passenger side rod bunk with six rods in place.
Note the room on the floor of the bunk for other materials. |
 |
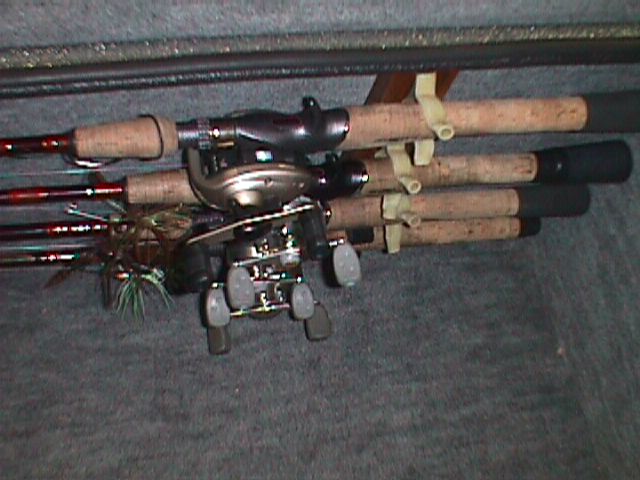
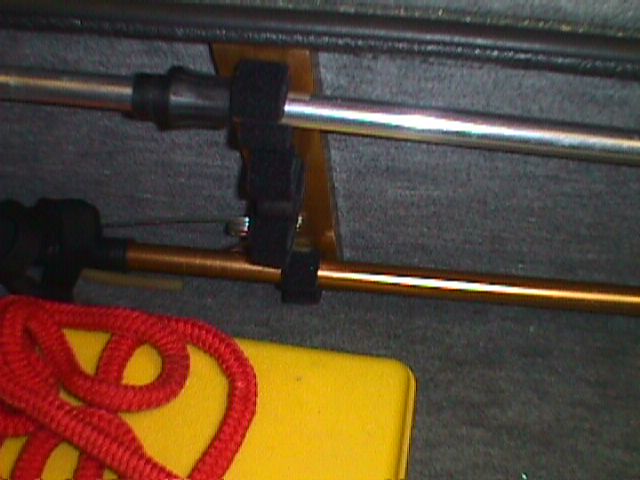
#2
Shows the back part of the rod holder with four rods hanging
vertically. |
 |
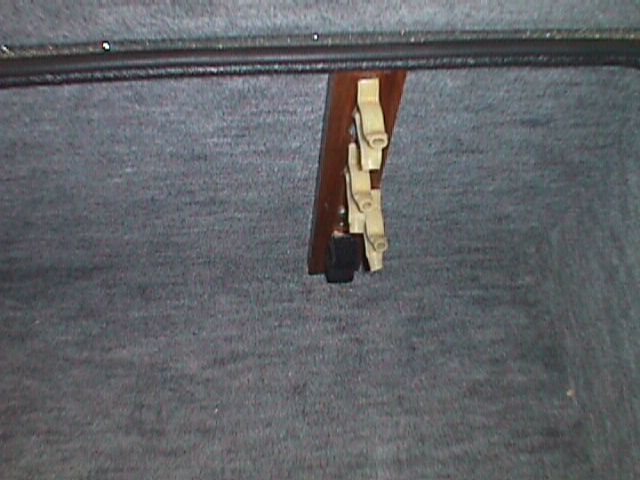
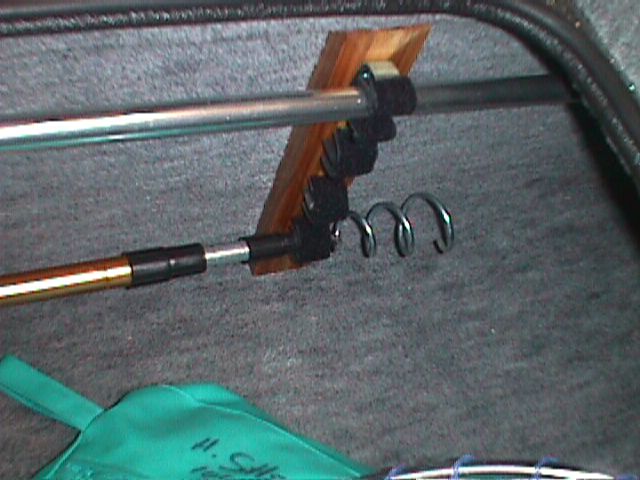
#3
Shows the front part of the rod holder with four rods hanging
vertically. |
 |
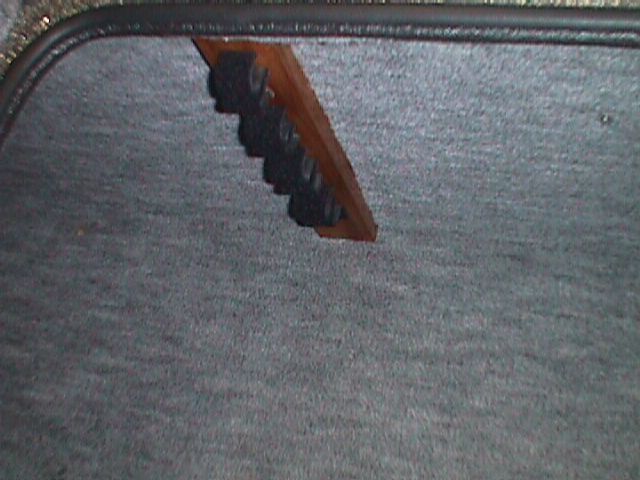
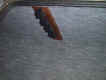
#4
Shows the back part of the rod holder without rods. |
 |
#5
Shows the front part of the rod holder without rods. |
 |
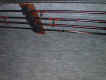
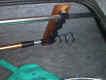
#6
Shows the outside of the rod locker and two rods hung there. |
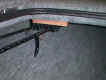 |
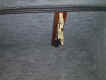
#7
Shows the outside of the rod locker and two rods front half. |
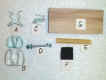 |
#8
Shows materials needed for holders - Labelled A through
G.
|
A - Garden tool holder from
hardware store. Will screw into vertical wood piece with a
wood screw.
B - Two sizes of other tool holders, used the smaller size for the
front to hold rod, and
larger size for the handle.
Only used this type because could locate none of the
other type A at the time.
Attach to vertical wood mount with wood screw.
C - Wood screws, one for each of A and B.
D - Long bolt with washers to hold the vertical wood pieces on to
the inside of the rod
bunk. Use washers as well as
a nut to hold wooden verticals in place.
E - Rubber tubing to slip over the 'arms' of type A holder.
To not scratch rod or handle
of reel.
F - Self adhesive Velcro (fuzzy side) to 'line' the inside of type
B holder. To not scratch
rod.
G - The wood (a short piece) to attach holders to. Will
mount vertically to inside of bunk
with D above. I put on three
coats of clear, high gloss varnish to avoid any water
damage problem to unprotected
wood. Will need one for handle attachment and one
for the rod attachment. The
wood I used was 2" x 3/4". I used Red Willow wood,
but other types will work just as
well. |
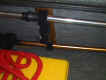 |
#9
Shows driver's side locker with same set up and materials.
This is back part. As you can see, I use this side for
running lights,
lure retriever, bow saw, paddle, etc. |
 |
#10
Same as #9, but front part. Same use as stated in #9. |
The
Directions:
Step #1 - Measure two pieces
of wood from just under lip of locker to floor of the
locker. Make sure you get a good snug fit. Measure
front and rear both, because they will be different heights.
Make sure of the placement from back of bunk to your reel handles.
Step #2 - Decide on your rod
and reel placement on the wood and lay out your rods on
them. I did this outside the rod bunk and on the garage
floor.
Step #3 - Drill guide holes
for the wood screws.
Step #4 - Attach each rod
holder with a wood screw, and set on your rods to be sure of
placement. I attached these inside the rod locker to see how
they would fit as a "test run".
Step #5 - Remove the rod wood
screws and rod holder and rod from the wood.
Step #6 - Sand and varnish your wood. As stated earlier, I
used three coats of clear, high gloss varnish.
Step #7 - Now, place your
rubber tubing and Velcro on your holders. Make sure these
are in place properly because they will protect your handles and
rod blanks from receiving scratches from the metal holders.
Step #8 - After the varnish is
dry, set the vertical wood pieces in place inside your rod bunk at
their proper location and mark where you will drill holes from
inside the bunk to the outside of the bunk. Be sure of their
positioning.....consider how close you want your handles to the
back of the bunk.
Step #9 - Next, drill holes in
the vertical wood hold to where they will go through the inside of
your rod bunk. CAUTION: You will drill through the
carpeting and bunk and into the "walkway" between your
two bunks. IN MY BOAT, there is no problem because I have a
flippin' deck that covers up any imperfections. You
are drilling from inside the bunk to the inside of the boat.
You are not drilling from the outside of the bunk to the outside
of the boat.
Step #10 - Use the longer
bolts to mount the vertical wood pieces to inside of the bunk.
You will have to measure and judge how long they need to be.
Use washers over the head of the screw and the nut. Be sure
to cut down the screws and file them after the wood is attached so
they do not cut or scratch your legs. You can use a piece of
the fuzzy side of the Velcro to put over the ends of the bolts for
protection.
Step #11 - Mount each of the
rod holders on to the vertical wood pieces in the pre-drilled
holes as in step #3 above.
Step #12 - Put your rods in
place with the reels facing down and handles to inside as in
picture #2.
If you want to install rods as shown in Pics 6 & 7, they will
be mounted horizontally, and just under the lip of the rod box
lid. I used wood screws (self drilling type) and short ones,
to fasten directly into the fiberglass rim of the rod box lid at
the front and an 'L'
shaped brace with wood screws into a piece of plywood at the back.
There was an exposed piece of plywood at the top of the rod box
that I was able to attach the 'L' shaped brace to. Use the
same type of holders with Velcro as shown in 8B with the larger
for the handles and smaller for the rod itself.
Questions?
If anyone has questions, please feel free to let me know.
Hopefully, these directions are clear enough to give you an idea
of the rod holders I made and installed in my
ChampioN. Believe me, I'm no handyman or mechanic, if I can
do this and make it work, then anyone can do the same.
Im4bass - NE
(Howard) |
|
|